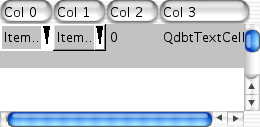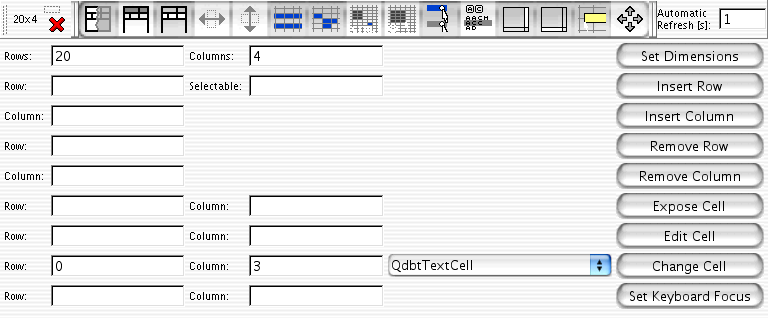
This examples shows the debugging library, which is included within the package as seen natively on Mac OS X. The window borders are not included.
The debugging windows contains the following controls:
Toolbuttons from left to right are
The elements are to be read from top-down from left to right. Just fill out the edit files in one row and activate to button right to them to activate one of the actions.


#include <qapplication.h>

#include <qdbt/qdbtdebug.h>
#include <qdbt/qdbtbasecell.h>
#include <qdbt/qdbtbasetabular.h>
#include <qdbt/qdbtcombocell.h>
#include <qdbt/qdbtintcell.h>
#include <qdbt/qdbtsection.h>
#include <qdbt/qdbttabcell.h>
#include <qdbt/qdbttextcell.h>

#include "example6.h"


int main( int argc, char **argv )
{
  QApplication app( argc, argv );


  QdbtBaseTabular *tab = 0;
  QdbtSection *sec = 0;

  tab = new QdbtBaseTabular( 0, "Example 6 Tabular" );
  tab->setDimensions( 4, 4 );
  sec = new QdbtSection( "Col 0 ", tab );
  tab->changeSection( sec, 0 );
  sec = new QdbtSection( "Col 1 ", tab );
  tab->changeSection( sec, 1 );
  sec = new QdbtSection( "Col 2 ", tab );
  tab->changeSection( sec, 2 );
  sec = new QdbtSection( "Col 3 ", tab );
  tab->changeSection( sec, 3 );

  tab->setCascadeText( 0, "Casc0" );
  tab->setCascadeMode( 0, -1 );
  tab->setCascadeText( 1, "Casc1" );
  tab->setCascadeMode( 1, 0 );
  tab->setCascadeText( 2, "Casc2" );
  tab->setCascadeMode( 2, 0 );
  tab->setCascadeText( 3, "Casc3" );
  tab->setCascadeMode( 3, -1 );

  QdbtTabularDebug *ctrl = new QdbtTabularDebug( tab );
  tab->show();
  tab->setCaption( "Example 6" );
  ctrl->show();
  app.setMainWidget( tab );

  return app.exec();
}
 1.2.15-20020421